In the modern digital business era, having a secure and reliable business email is crucial.
Apple Mac computers offer an easy and efficient way of managing emails, but the right setup and security measures should be in place.
In this article, we will guide you through setting up your business email on a Mac, securing it against cyber attacks, and managing email recovery in case of unintentional loss.
The Mail app on Mac has built-in support for most email providers, so it is easy to include business accounts.
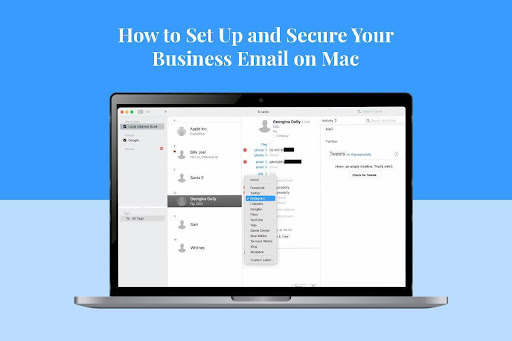
Here are the steps to configure your business email:
Congratulations! You have successfully configured your business email on Mac.
After your email is configured, it is important to put security measures in place to avoid unauthorized access, phishing, and data breaches.
The following are the best security practices:
Two-factor authentication provides additional security by requesting a second authorization step, e.g., a code received by your phone.
For Gmail and Outlook, 2FA can be enabled from your account security settings.
For iCloud Mail, head to System Preferences/System Settings > click Apple ID > Password & Security, and enable Two-Factor Authentication.
Do not use obvious passwords such as “123456” or “password.” Combine uppercase letters, lowercase letters, numbers, and special characters. Consider using a password manager such as 1Password or Apple’s built-in Passwords feature.
Encryption protects your emails so that only the intended recipients can access them.
Use S/MIME encryption, which is native to Apple Mail.
For extra security, use third-party encryption software such as ProtonMail or PGP encryption.
Keeping your software up to date means you have the most recent security patches. Navigate to System Settings > Software Update to look for new updates.
Never click on dodgy links from unknown senders.
Confirm the sender’s email address prior to replying to requests for sensitive information.
Deletion of business emails by mistake can be an issue, but you’ll find various options to recover deleted emails on Mac.
If you accidentally delete a crucial email, use the following recovery procedures:
When you delete an email, it is relocated to the Trash folder, where it remains for 30 days before being permanently deleted. Find the email and move it to Inbox.
If you have backups using Time Machine, you can recover deleted emails from an older backup.
Open the Mail application > click the Time Machine icon in the menu bar and select Enter Time Machine > navigate through older backups to locate and restore the email.
If your emails are permanently deleted, your email service provider may have backup copies.
Gmail, Outlook, and Yahoo retain deleted emails on their server for a little while. Contact customer support to recover.
Step 4: Additional Business Email Security Features
Make your emails even more secure with these habits and tools:
A VPN secures your internet connection, making it more difficult for hackers to access your emails.
Recommended VPNs are NordVPN, ExpressVPN, and CyberGhost. But do not forget to do your research.
You can check out the detailed Cybernews NordVPN review to see why it’s highly recommended for online security.
Configure email filtering to stop phishing emails and spam.
Google Workspace and Microsoft Exchange provide enhanced email filtering.
Trigger alarms for abnormal login attempts. Check active sessions and devices accessing your mail frequently.
Instead of sending confidential files through email attachments, use safe file-sharing programs like Google Drive, Dropbox, or OneDrive.
Configuring and securing your business email on Mac guarantees smooth communication and guards against sensitive information.
Using this guide, you can:
Adopt these best practices now to secure your business email and have it running on your Mac!